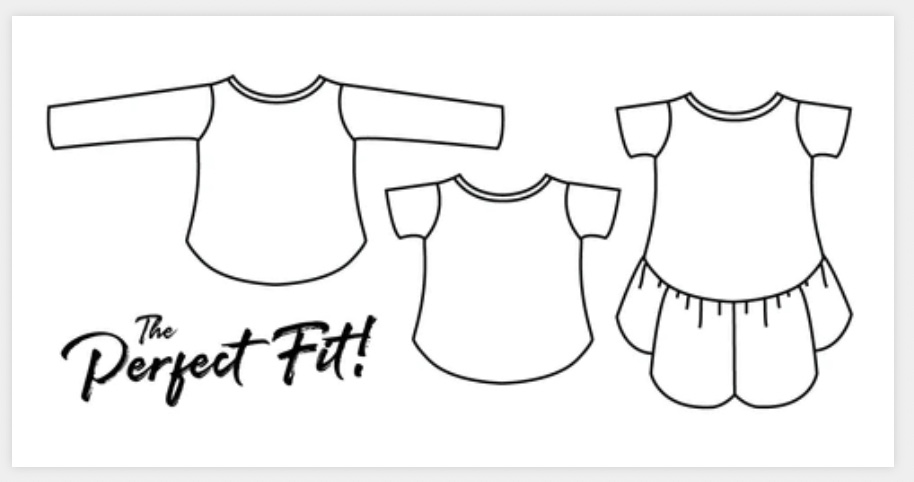
Removable Arms: The Best Way to Dress Your Puppet
Dressing a Puppet with Permanent Rods is a Struggle
Have you ever struggled to dress a puppet with permanent arm rods? Puppets, like babies, have large heads, and unlike babies, have a long rod attached to each hand making threading the arms through shirt sleeves extra difficult.
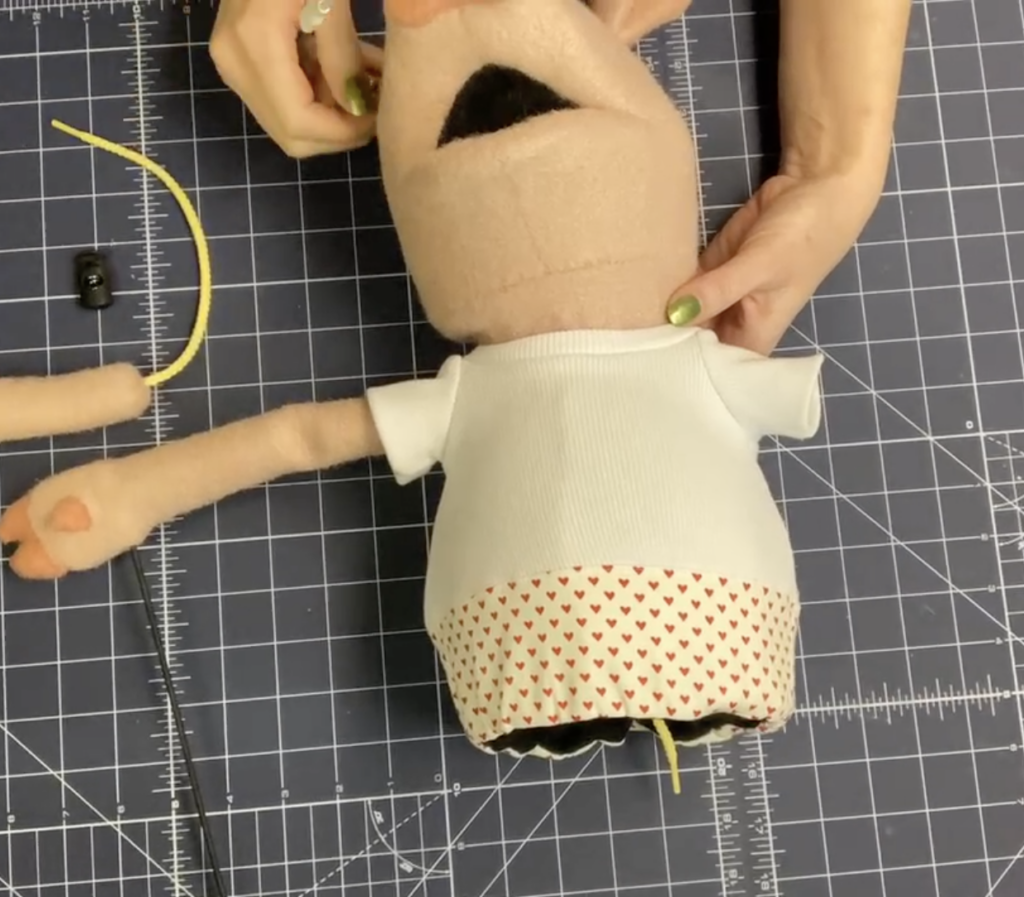
If you know your puppet is going to have costume changes, there is an easier way. You can design your puppet or retrofit an existing puppet with removable arms! If you make the puppet arms removable, you can dress the puppet from the bottom up with the arms off and then add the arms after the clothing is in place. Bulky hands and rods don’t need to be shoved through sleeves anymore! The shoulder end of the arm is threaded from the cuff end of the shirt and secured within the torso.
The video tutorial will illustrate this nicely if this written description is unclear.
Supplies
The supplies you need are simple. You can easily retrofit existing puppets. All you need is a shoelace and two cord locks (hoodie toggles). I also suggest some 3D printed hardware similar to a thread bobbin to help create a stop within the foam torso and within the arm.
Directions
Cut the shoelace in two and shorten it to the desired length. Knot each cut end. Sew the knotted shoelace end into the shoulder end of the arm. Cut a slit in the torso where you want your arm placed. Thread the lace through, and secure it with the hoodie toggle. A video tutorial is linked at the bottom of this blog post.
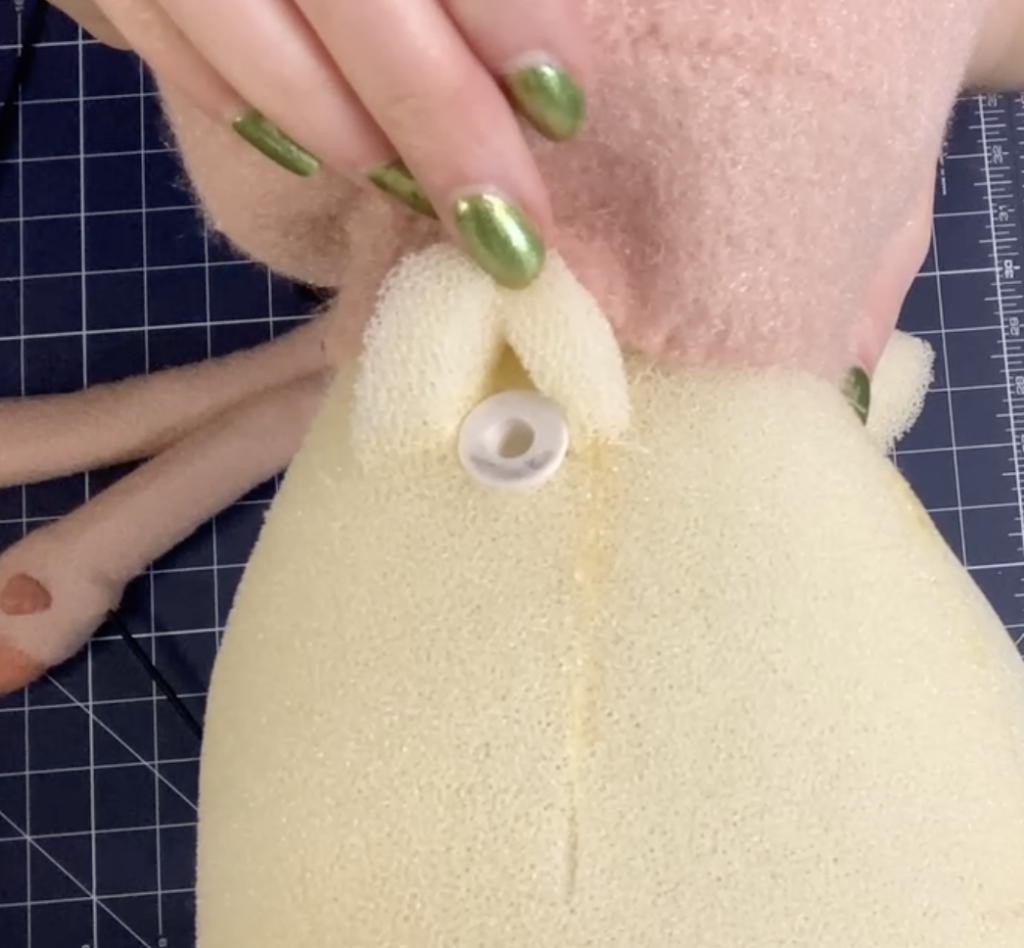
3D Printed Hardware in Torso
To make it easier to find the hole in the torso while dressing and reduce wear and tear on the foam torso, I add a piece of 3D-printed hardware that I designed in Tinkercad. You can substitute a plastic washer or hand-cut plastic circle with a hole in the center. I glue my hardware into the hole in the torso where arms would be placed. If you have a 3D printer, you can find the free .stl on my account on Printables.com (see link below).
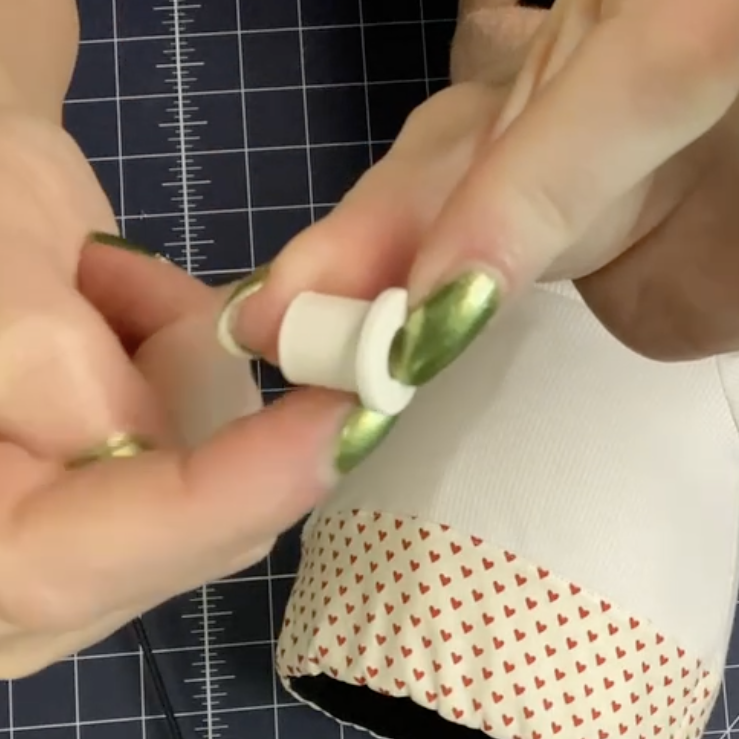

Arm Hardware
I use the same hardware in the arm end to hold the knot in place. This is totally optional. I knot the end of the shoelace, thread it through the hardware, and sew it into the puppet arm using a running stitch to gather the arm fabric above the hardware. The video tutorial also illustrates this.

Free Resources
Do you have a 3D printer? I’ve listed my hardware .stl files on Printables here, so you can print your own hardware. The file is free.
Do you have a unique way to solve dressing your puppets? Did you find this tutorial helpful? I’d love to hear about it in the comments below.